
To create Donation Campaigns, it takes multiple steps to make sure that everything is coded properly and appears in the correct spot.
1. Create a Donation Campaign
This can be done accessing the Donation Campaign Module in Blue Cloud. To add a new Donation Campaign, press “New Donation Campaign” in the upper right hand corner of the screen.
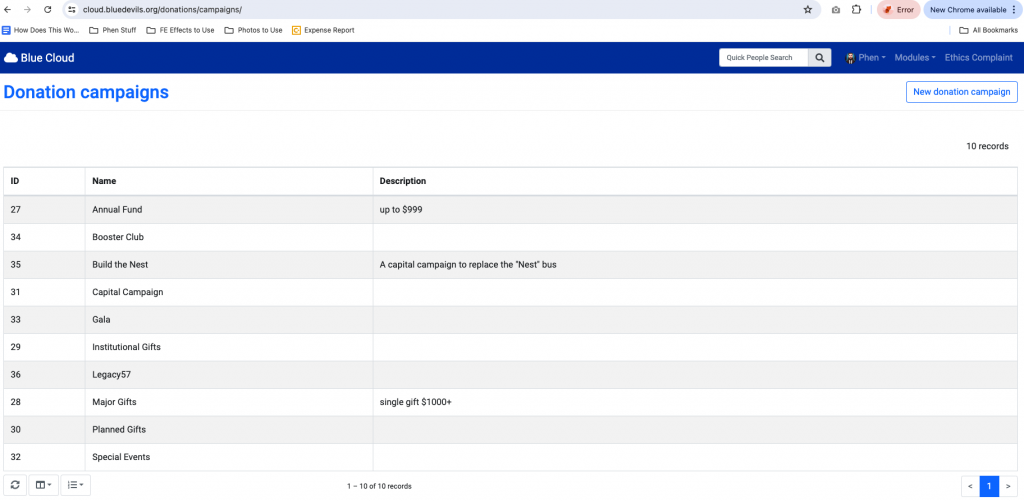
Fill out all nessessary information and a few campaign will be created. Next we will create a target.
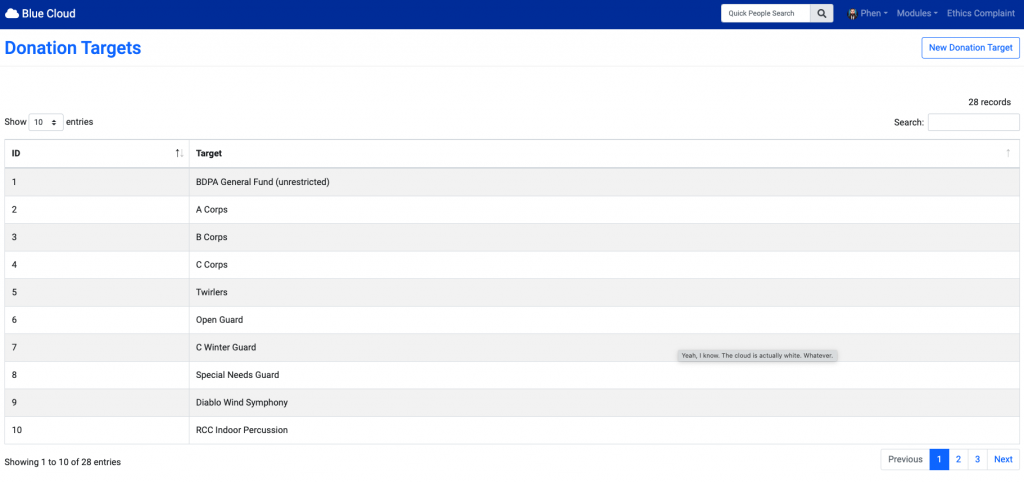
2. Create a Donation Target
You can name this something similar to the Donation Campaign. This will be the custom URL that targets that specific Donation Campaign. To add a new Donation Target, press the “New Donation Campaign” in the upper right hand corner of the screen.
Now, you can use a custom URL to access that specific campaign. For example:
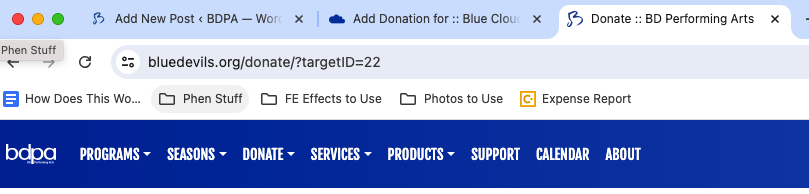
The /?targetID=22 acts as the new campaign. The 22, is the ID of the campaign and can be changed.
22 = Gail S Campaign
2 = A Corps
3 = B Corps
etc.
https://bluedevils.org/donate/?targetID=22
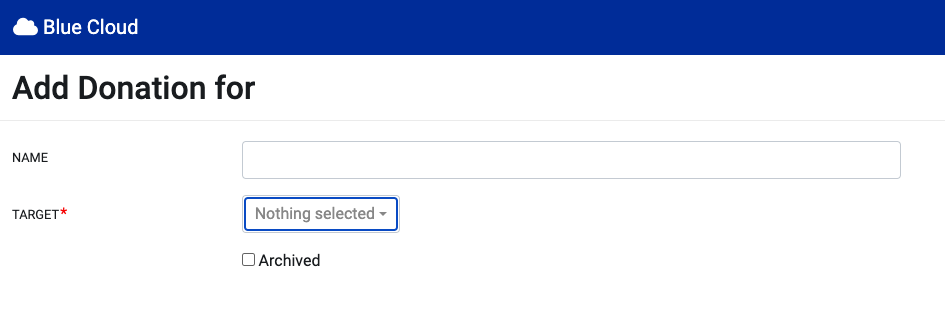
3. Donation Fors
Now to tie the Donation Target and the Campaign together. This will create the dropdown inside of the donation form and auto-select that campaign when a user accesses the specific donation target link.
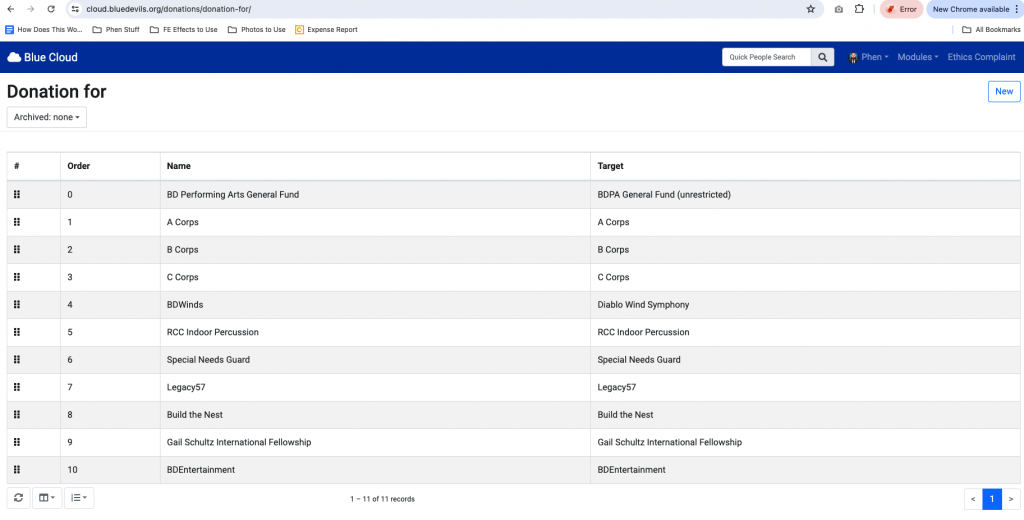
a. To do this, navigate to “Donation For” in the Blue Cloud Dashboard Menu.
b. Press on “New” in the Upper right hand corner of the screen.
c. Enter the Name of the Campaign and Select which Target you want it to become related to.
Now, on the audition form, you will see your campaign listed in the drop down. Additionally, when you switch between campaigns, you will see the page refresh and the URL will change to the specific target.
If you have any questions or concerns, please reach out to [email protected]